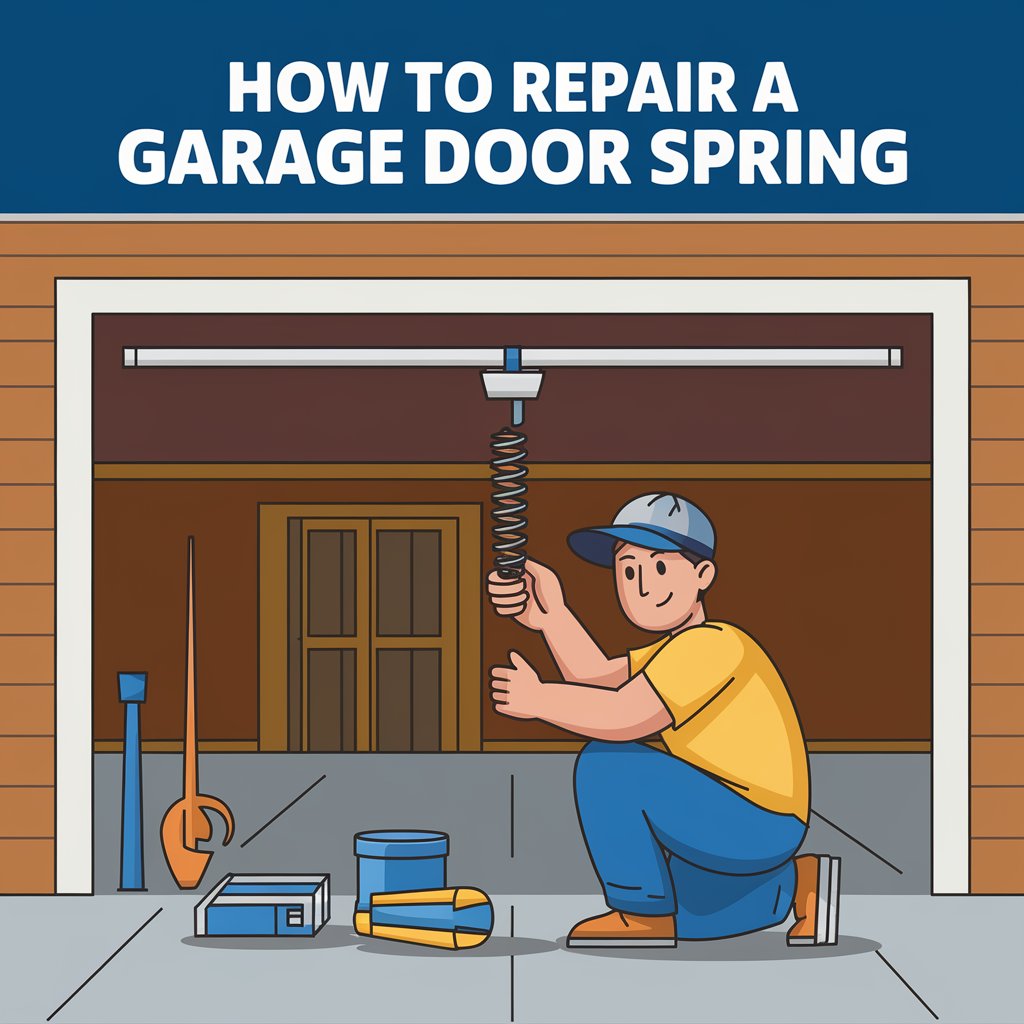
Repair A Garage Door Spring Explanation

A broken garage door spring can be a major hassle, but it’s a job that many homeowners can tackle themselves with the right knowledge and experience. However, it’s vital to remember that garage door springs are under extreme tension and can be dangerous if handled improperly. If you’re unsure about your skill level or feel uncomfortable with the prospect of being injured, it’s always best to call a pro. Let’s take a look at how to repair a garage door spring.
Understanding Garage Door Springs
Before diving into the repair process, we need to understand the two main types of garage door springs:
- Torsion Springs: These are coiled springs that run along the horizontal axis above the garage door. They provide the primary lifting force.
- Extension Springs: These are longer, paired springs that are attached to the bottom of the garage door and wind around drums on the side. They assist in lifting the door.
Safety First: Precautions When Dealing With A Garage Door Spring
- Disconnect the Power: Always disconnect the garage door opener from the power source to prevent accidental movement.
- Support the Door: Use sturdy ladders and supports to securely hold the garage door in place, preventing it from falling.
- Wear Protective Gear: While you may look silly, consider wearing gloves and safety glasses to protect yourself from potential injuries.
Identifying the Problem
- Visual Inspection: Look for signs of wear, such as rust, cracks, or broken wires.
- Functional Testing: Manually open and close the garage door to identify any unusual noises, resistance, or uneven movement.
Repairing Torsion Springs – 5 Steps
- Measure the Spring: Determine the length, diameter, and winding rate of the broken spring.
- Purchase a Replacement: Find a torsion spring that matches the specifications of the damaged one.
- Release Tension: Use a spring winding bar to carefully release the tension from the remaining spring.
- Remove the Broken Spring: Carefully detach the broken spring from the torsion tube.
- Install the New Spring: Attach the new spring to the torsion tube and wind it to the appropriate tension.
Repairing Extension Springs – 5 Steps
- Measure the Spring: Measure the length and diameter of the broken spring.
- Purchase a Replacement: Find an extension spring that matches the specifications.
- Release Tension: Carefully release the tension from the remaining spring using a spring winding bar or a ratchet and socket wrench.
- Remove the Broken Spring: Detach the broken spring from the drum and cable.
- Install the New Spring: Attach the new spring to the drum and cable, ensuring proper alignment.
Testing and Adjustment
- Manual Operation: Test the garage door to ensure it opens and closes smoothly without any binding or resistance.
- Adjust Tension: If necessary, adjust the spring tension by turning the winding bar or using a ratchet and socket wrench.
Sould You Call a Professional?
- Complex Repairs: If you’re dealing with multiple broken springs, damaged cables, or other complex issues, it’s best to consult a professional.
- Safety Concerns: If you feel unsure about your ability to safely complete the repair, or if you encounter any unexpected difficulties, it is not worth it to risk injury or serious damage. Call a professional!
Remember, while do-it-yourself garage door spring repair is possible, it requires extensive knowledge, attention to detail, and a commitment to safety. If you have any doubts, it’s always better to err on the side of caution and call a professional.
It is very important to take action immediately when you have a garage door problem including spring repair needs. O7 Garage Doors is a long-time garage door repair company in Ocala that services all of Central Florida. We can handle any problem related to garage doors and can promise the best customer service possible! Give us a call at 352-552-5535 or contact us here.
